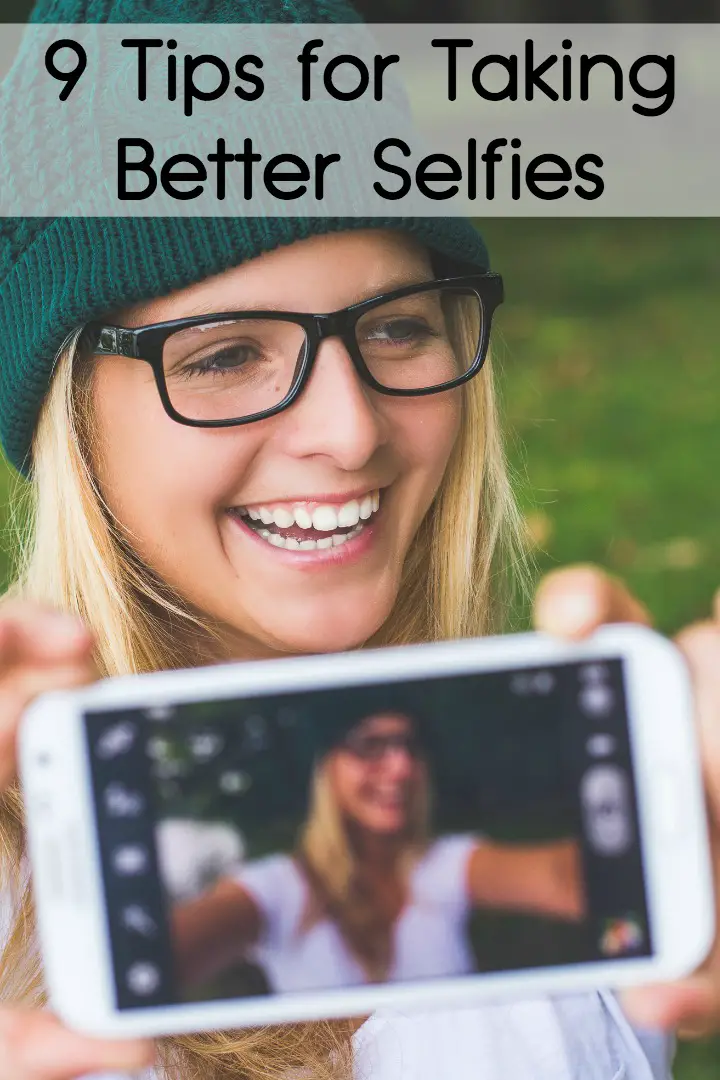
9 Tips for Taking Better Selfies
Selfies are a fun way to share yourself with the world, especially via social media. People who care about you, love seeing your beautiful face from time-to-time and so the art of selfie-taking is important.
From presidents to Academy Award winners, almost everybody’s doing it. But don’t just point your camera at your face and take a shot without planning—there’s an art to taking attention-grabbing selfies that your friends will love seeing in their feeds.
Here are 9 Tips for Taking Better Selfies:
 1. Follow the “Rule of Thirds”
Photographers around the world know about the Rule of Thirds, but do you? The Rule of Thirds can dramatically improve your selfies.
To follow this rule, place your face in such a way that your eyes line up about one-third of the way down from the top of the image. Likewise, don’t place your face in the center of the photo. Place it roughly one third to the right or left.
2. Do the 90 degree test.
Get set up for your selfie and evaluate how it looks, including the lighting. Next turn 90 degrees and set up for another selfie. Sometimes a change in position can create a much better selfie because of the lighting or the background.
3. Capture a good angle.
Instead of taking the picture head-on, experiment with different angles to show off your features. If you turn your head a few degrees to the right or left, your features will appear less flat and you will appear more dynamic. Holding the camera slightly higher than your head so that it’s pointing down on you will make your eyes look bigger and help you avoid showing the underside of your nostrils, which is less than flattering in photographs.
Here are a few other ideas for finding a good angle:
- Know your “good side” and take the photo from that side of your face. It’s the side of your face that looks the most balanced and symmetrical.
- Angling the camera slightly above yourself and taking a snapshot of your face and chest will highlight your cleavage. Since this position is fairly unnatural, odds are, you already know what the camera will focus on when you take a selfie like this.
4. Extend your neck out.
Avoid looking like you have a double chin or no chin, but lifting your chin slighty and extending your neck out. This accentuates your face, especially your jaw line. It may feel awkward but it can really improve how your selfie turns out.
5. Sometimes it helps to use two hands.
Most selfies are a one-handed selfie, however you can often get the angle better if you use two hands. If you’re having a hard time getting your shot with one hand, try using two instead.
Likewise, a selfie stick can be really helpful as well and can give the appearance that your picture is not a selfie at all.
6. Notice your shoulders.
A lot of the time, when we pose for a selfie, we don’t realize it, but our shoulders are scrunched up or not held on a flattering angle. Pay attention to your shoulder position. It can make all the difference.
Rather than having your shoulders parallel to the camera, try turning them slightly to the left or right and figure out what looks best.
7. Pay attention to the lighting.
Having a solid light source is an essential part of taking any kind of photograph, and selfies are no different. If you try to take a selfie in a dimly-lit room or one with harsh fluorescent lighting, it won’t turn out the way you want it to. Natural light is the most flattering kind, so try to take your selfie near a window or outdoors. Keep these factors in mind when you shoot:
- Keep the sun or other light source in front of you, a bit above eye level, for the most flattering shot. The light will brighten and soften your features, rather than casting harsh shadows across your face. If it’s off to the side or behind you, your features could appear shadowy or distorted.
- Consider using a thin curtain to diffuse sunlight or a single light source. It makes the light softer and more flattering. It will give the impression of smoother, softer facial lines so that your smile appears more attractive.
- Natural light renders colors more faithfully than artificial light, but you can use artificial light to fill shadows. If you don’t have the best lighting, most modern digital cameras have some automatic color correction to make up for it.
- Don’t use your flash if you can help it. It’ll create a forehead glare, distort your appearance and possibly give your selfie the redeye effect.
8. Consider the background of your picture.
Whether you take your selfie inside or outdoors, check around you first to see what’s going on in the background. Position yourself so that you’re in front of the background you want people to see – if you want them to even notice the background.
Be on the lookout for anything you don’t want people to see as well! Likewise, if you want people to focus more on you, crop in tight so that the background isn’t very noticeably.
- Nature always makes a great background. In the spring and summer, you can pose in a small wooded area or near a blossoming bush of flowers if you need a quick and easy backdrop. For fall, capture the color of the changing leaves in the background, and in winter, capture the majesty of ice and snow.
- If nature is not your thing, you could stay indoors and take a selfie in your room. Tidy things up first, though. You could also display something interesting in the background as long as it is not distracting. For instance, if you love to read, then a bookcase or stack of books would be a good backdrop. A movie poster with a lot of different people on it could be distracting, however.
9. Use your phone’s back camera.
Many cell phones have two cameras: one in the back, and one in the front. Instead of using the camera in the front to take selfies, use the one in the back. The back camera on most phones takes higher-resolution pictures than the front camera, which will end up taking a blurrier selfie. You’ll have to turn the phone around, and you won’t be able to see your face as you take the picture, but it’s often worth the trouble to use the back camera.
Resource: http://www.wikihow.com/Take-Good-Selfies
